TUTO free covid mask
The mask: a good habit to keep!
By Pascale, the creator of Salut Poupée!
I call this mask "Japanese mask or Asian mask" because this curved shape is very common in Asia. It should also be noted that Asians are very fond of masks, it's really in their culture. With the Covid epidemic, I think we have become accustomed to the mask, even if it is more difficult for us French and Europeans. And I think it's a good habit that we've taken and that we should keep it for epidemic periods (flu, gastro-enteritis... and God knows what virus again) because the mask has proved its worth! My boss and my tutorial will always be useful! For your information, I had already made a tutorial of a 3-ply mask for l'atelier du Perroquet: you can discover it here. But personally, I prefer this nesting shape, it is really warmer in summer... But as it is winter!
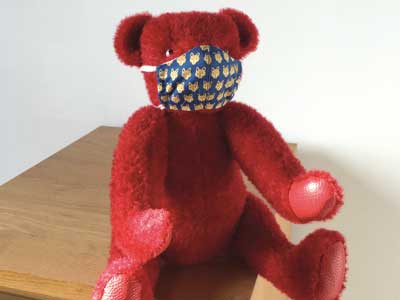
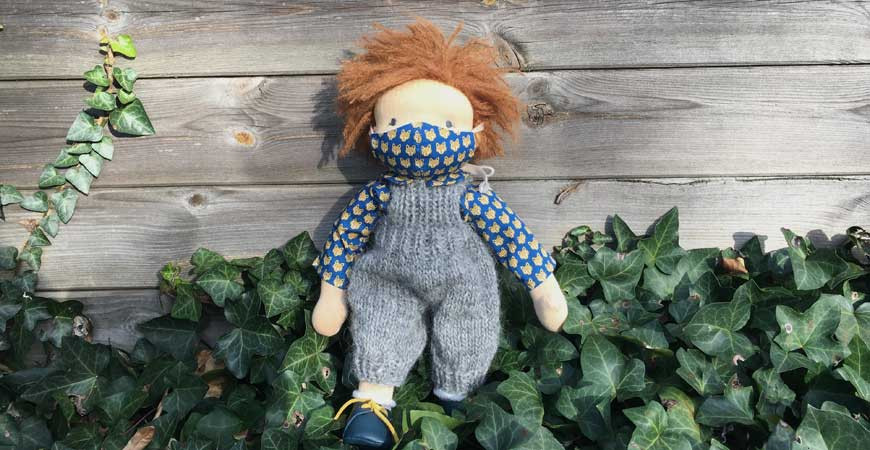
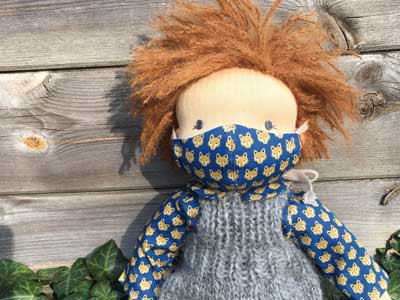
The mask is also suitable for bears!
As you will see, and to stick to a theme that is dear to me, I made a mask for one of my dolls but, don't worry, the pattern is in adult size ! And if I was able to make it in miniature, you will be able to create it in big size without any worries !
For the supplies, you will need : two small scraps of fabric, some fleece (optional), a tie to tie the mask (personally, I like the Trapilho which is slightly elastic and doesn't slip. You can find some here for example...
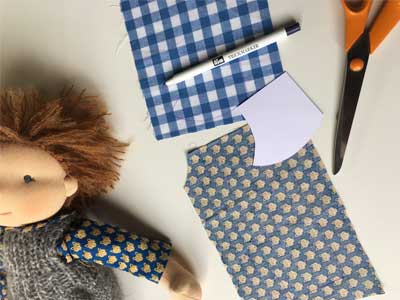
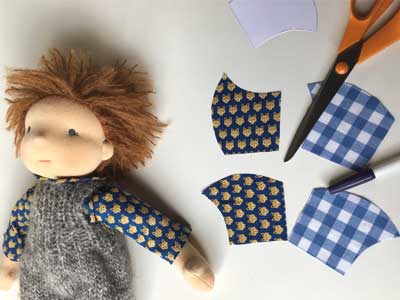
1 - print and cut the pattern!
You can DOWNLOAD THE PATTERN HERE! Before you print it, please check that the section measures 5 cm ;) Personally, I'm used to adding my stitching margins on my pattern, it's much easier and I always glue it on a thin cardboard : it's much easier to trace around ;)
So, add 1 cm of stitching margin all around EXCEPT for the small side (towards the ear) of the OUTER fabric where the margin should be 2.5 cm. You cut twice in OUTER fabric and twice in lining and don't forget to turn your pattern over! Optional: you can also add a third layer in fleece.
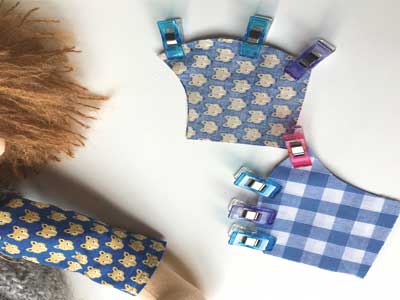
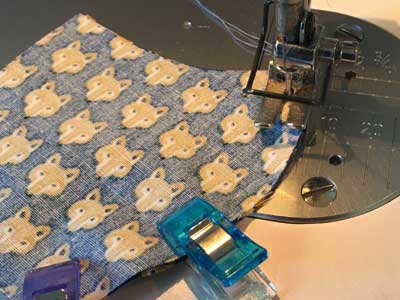
2 - Assemble your pieces and sew them together
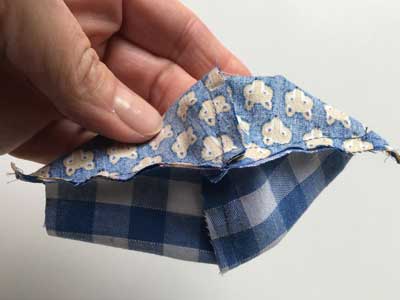
Position the two pieces of outer fabric right sides together; do the same for the lining. And sew only the rounded part at 1 cm from the edge (on my miniature model, I sewed at 0.5 but don't take this into account).
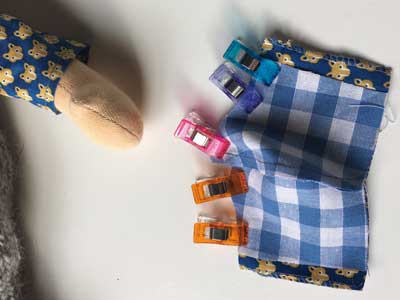
3 - Assemble the outside of the mask with its lining.
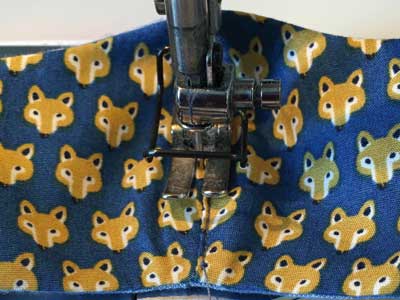
Place both parts right side up, perfectly connecting the vertical seam. Tip: Tilt the seam allowance in one direction for the outside and in the opposite direction for the lining to avoid uncomfortable overthickness. Stitch top and bottom, leaving the short sides open for turning. Note that we do have the outer fabric which is longer (this is what will be used to make a tunnel for the sliding link).
4 - Turn the mask over and do the finishing touches...
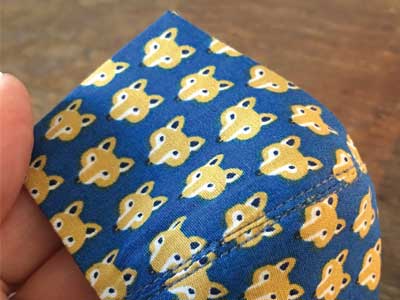
Turn your mask over and carefully iron the seams. Little tip: to make sure the seam lies flat, I usually moisten my fingers and roll the small inner bead before ironing! If you have chosen to add a fleece, now is the time to slip it between the two layers of fabric. Then double topstitch vertically on each side of the seam to secure the whole thing together.
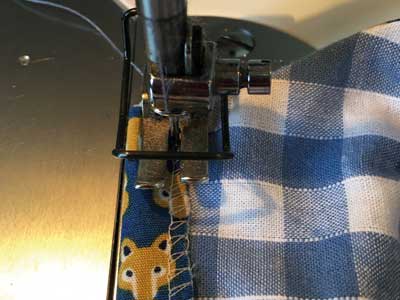
Now it's time to fold up the short sides (I remind you that we had a 2.5 cm margin on the outer fabric). So the more you fold and iron a small cm, the more you fold and iron on 1.5 cm which will allow us to slide a tie (don't take into account my special little doll margins! Finally, stitch flush to save space on the slide. You just have to slide your ribbon, your Trapilho tie in the backstage area with a small safety pin: form a loop in the upper part that will fit the head and the two free ties must come out in the lower part to be tied behind the nape of the neck.
Who is the most beautiful?